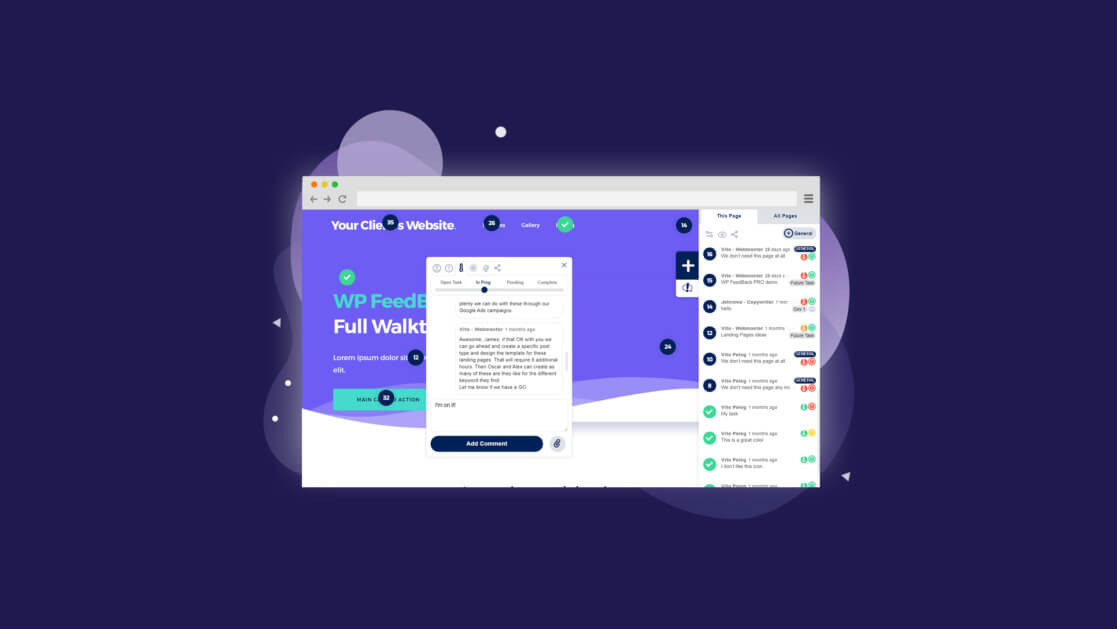
Today, I’m introducing a new way to request edits to your website! WP Feedback Pro makes it easy to collaborate with your web designer by allowing you to simply click on an element of your site, such as an image or text, and make a request to change it. Check out the video demonstration below for a quick overview of how the plugin works.
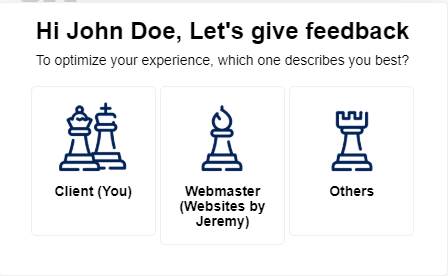
1. Select Your Role
When you first log in to your WordPress Admin Dashboard after the plugin has been installed, you’ll be presented with a quick set-up screen. You’ll need to select that you are the Client.
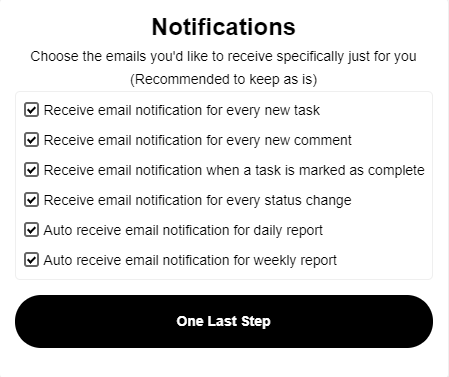
2. Choose Your Notification Preferences
Next, you’ll be able to choose which email notifications you’d like to receive. I recommend selecting at least for every new comment and when a task is marked as complete.
3. Creating Your First Task
Once you’ve completed the set-up, you’ll be able to start adding new tasks directly from your homepage or any other page on your site. A task is assigned to the page that you create it on, so feel free to navigate from page to page and add as many tasks as you need. They will all be saved as you create them.
Using the Feedback Widget
The Feedback Widget is located on the right-side of your screen. It is only visible to you when you are logged in to your website. Your regular visitors cannot see this.
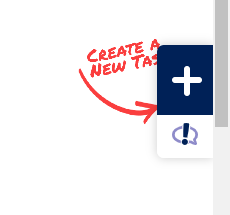
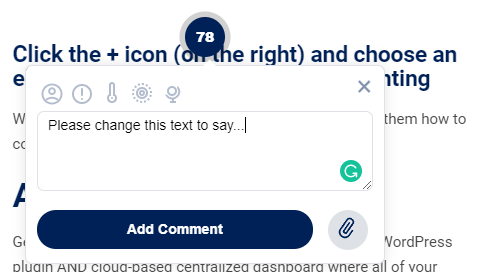
To add your first task, click on the big plus icon. You’ll notice that you can now hover your mouse over your website and select any element on the page, such as a button, image, or text.
This will allow you to click on any element of your site and add a comment. You can also upload any images or other files to that you want to be included in your request.
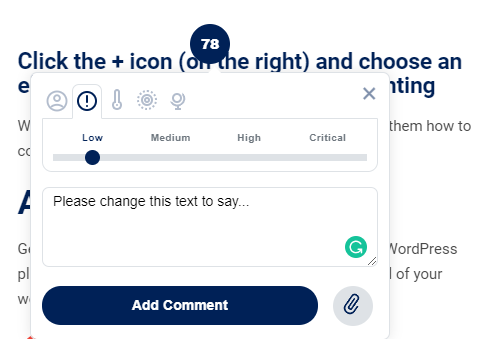
You can change the priority of your task by clicking on the Exclamation Point icon at the top of the comment box:
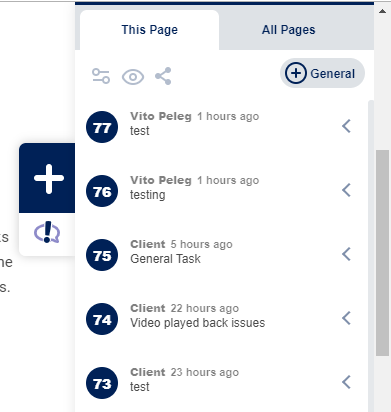
4. Adding a General Task
General Tasks are great for things that aren’t directly related to the page you are working on. For example, you can add a General Task to request changes to your site’s menu. You can also add a General Task if you need a new page created.
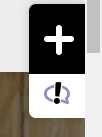
To add a General Task, you’ll want to click on the Exclamation Point icon below the plus icon on the widget:
5. Final Thoughts
I hope to simplify the revision process during website builds by using this plugin, but it can also be useful for my ongoing Care Plan clients who make frequent updates to their site content. I am pleased to announce that this new feature is being rolled out to all of my current Care Plan clients today!
If you have any questions about using the WP Feedback Pro plugin on your website, please send me a message and I will be happy to schedule a free training session with you.